This is an email marketing app that is deeply integrated with our CRM and automation apps in the Business Centre.
Campaigns Pro (Part 1)
INTRODUCTION
Campaigns Pro is an email marketing application that is closely connected to the CRM in the Business Centre. You can send up to 10,000 emails per month and store unlimited contacts from within the CRM app.Add-ons are available to increase the monthly email quota. In addition, you can also send campaigns as text messages with our SMS add-on packages. SMS has a much higher open rate and is an effective way to reach your customers
GETTING STARTED
Campaign Pro has an easy-to-use email layout builder that you can save as templates. Emails can be sent immediately, or you can schedule them at a more appropriate time.To send emails, they must be added to a Campaign. Campaigns can either be set up to send one email newsletter or a series of them over time. For example, you may want to send a new customer a welcome email, followed by a second or third email over two weeks as part of your onboarding, so as not to overwhelm them with too much content.
To send emails requires you must do the following:
- Make sure you have imported or added the contacts to your CRM.
- Create an email newsletter that you can save as a template.
- Create a Campaign.
- Add recipients to the Campaign.
- Send or Schedule the Campaign.
----------------------
PART 1
A. Creating an email template
B. Creating a campaign and
C. Sending or scheduling emails to one or a small number of manually selected contacts.
NOTE: To build and send to a larger list of contacts, please review PART 2.
Here are two short videos on creatng Templates and Campaigns
Below are screenshots for step-by-step instructions.
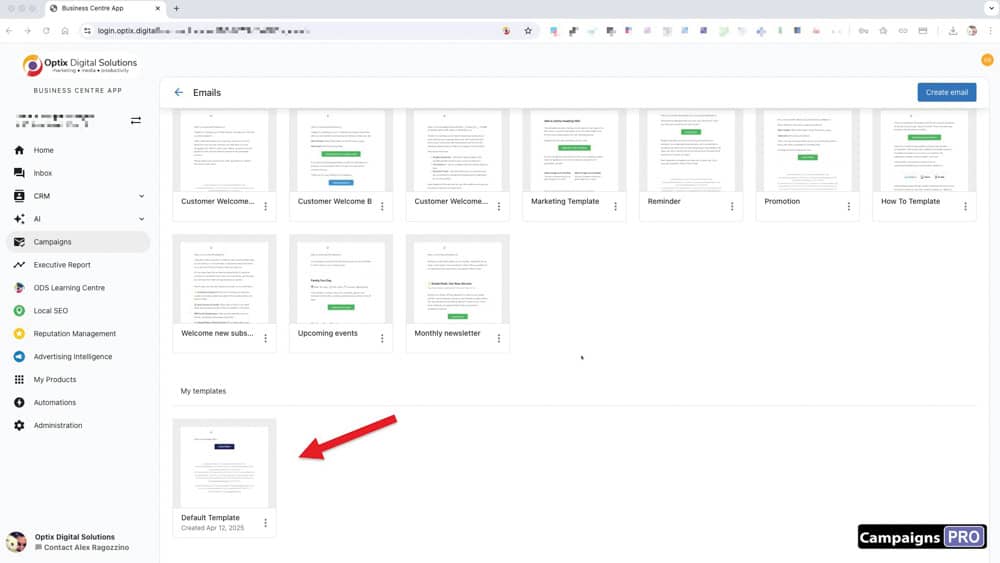
A. CREATE AN EMAIL TEMPLATE
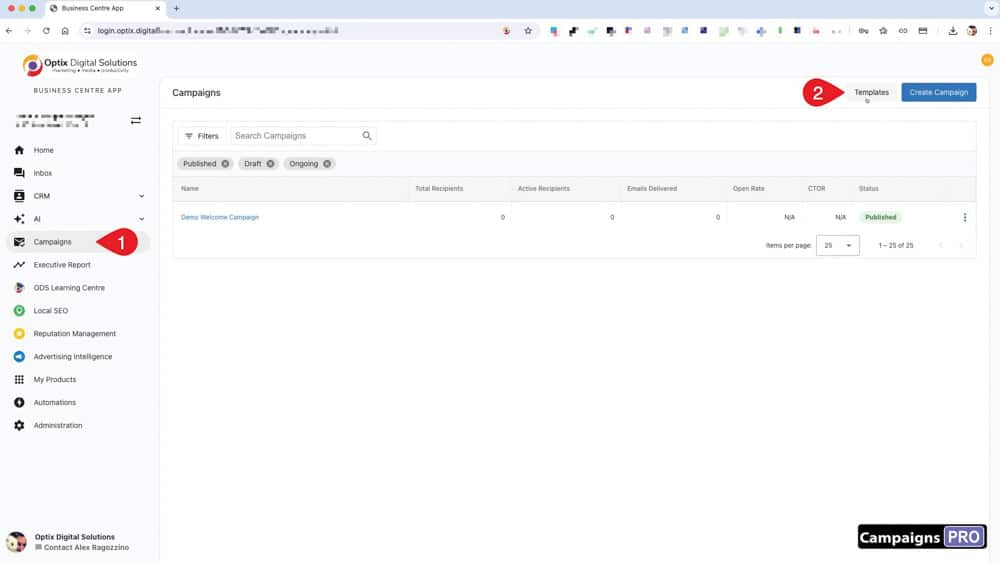
1. On the "Campaign" page, select the "Template" button.
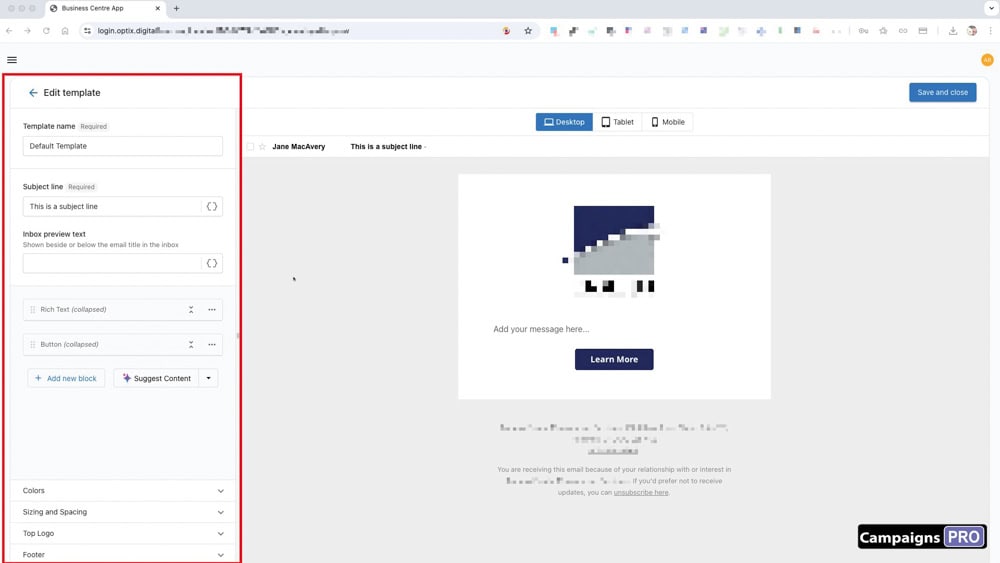
2. The page is divided into two sections.
All the elements that will make up the email layout are on the left-hand side. On the right is a preview of what it looks like as you build it.
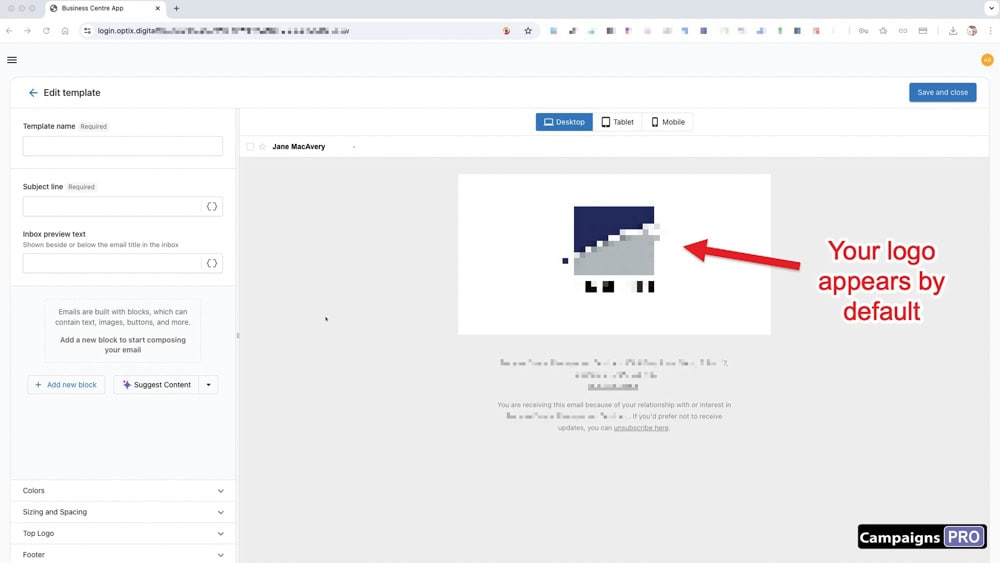
2. The logo added when the Business Centre was set up will automatically be added.
It can be removed or replaced. (Look for the "Top Logo" section on the lower left-hand side of the screen.
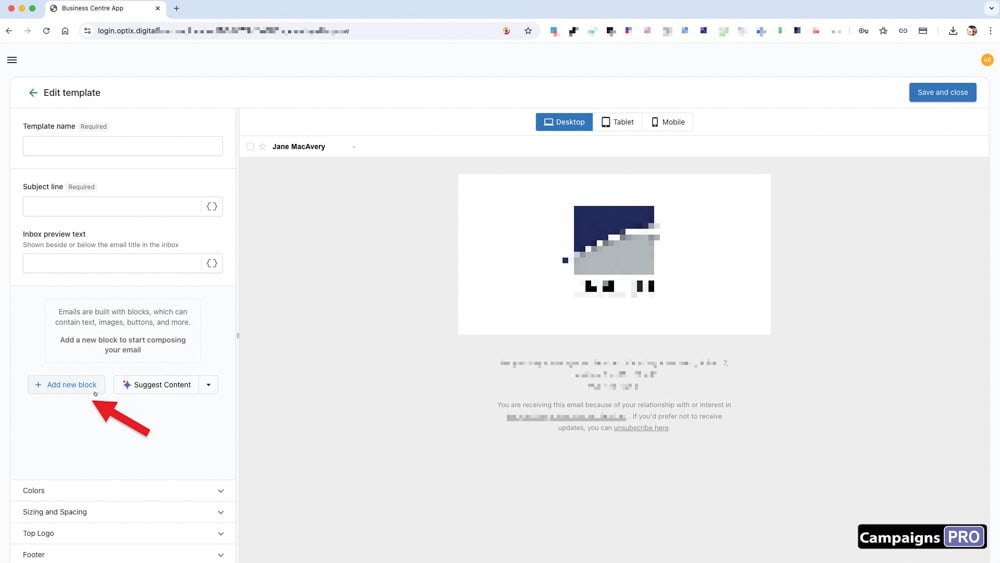
3. To add more content click on "Add new block".
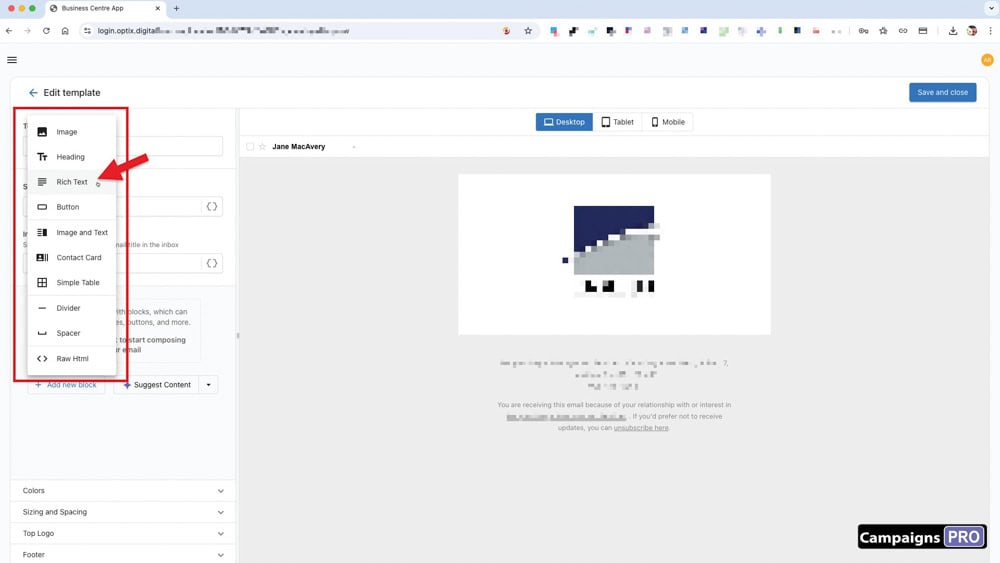
4. You can choose from a number of block types such as "Rich Text".
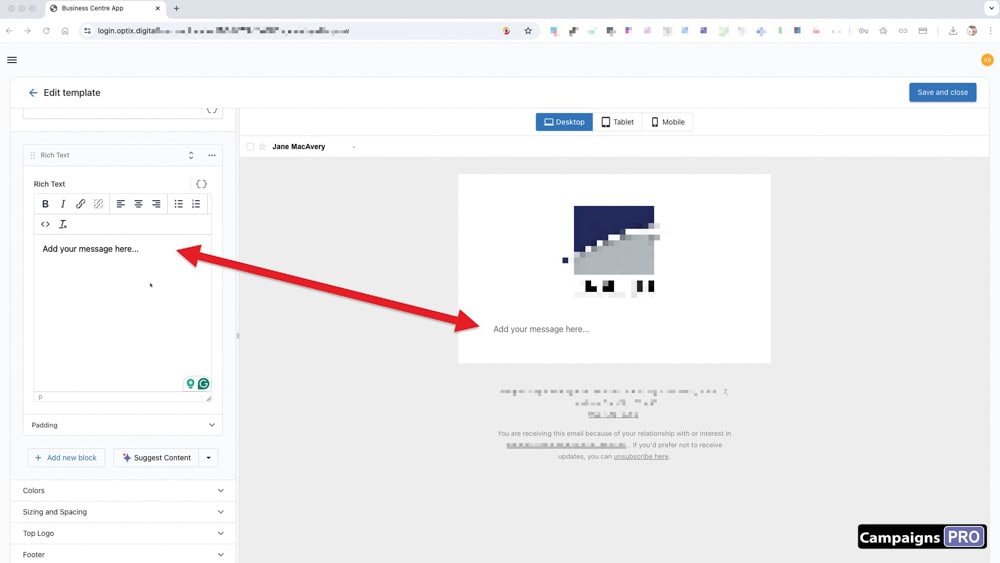
5. As you change the block content, it appears in the previews to the right.
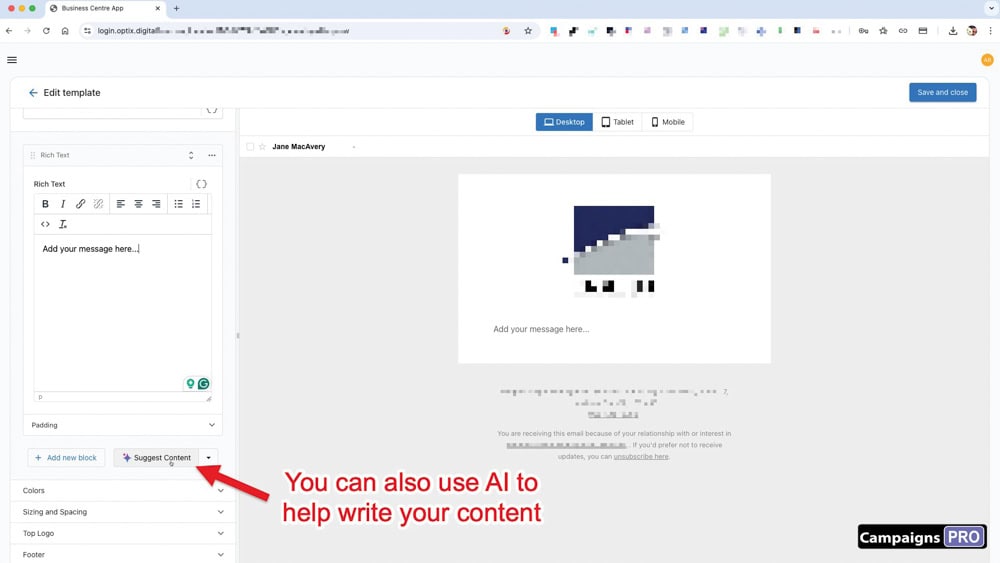
6. Use AI to help you write the content.

7. Provide a prompt and watch the magic happen!

8. Different options are available depending on which block type you select.
In the above example, the button type provides options like colour, button text and the link to attach to it.
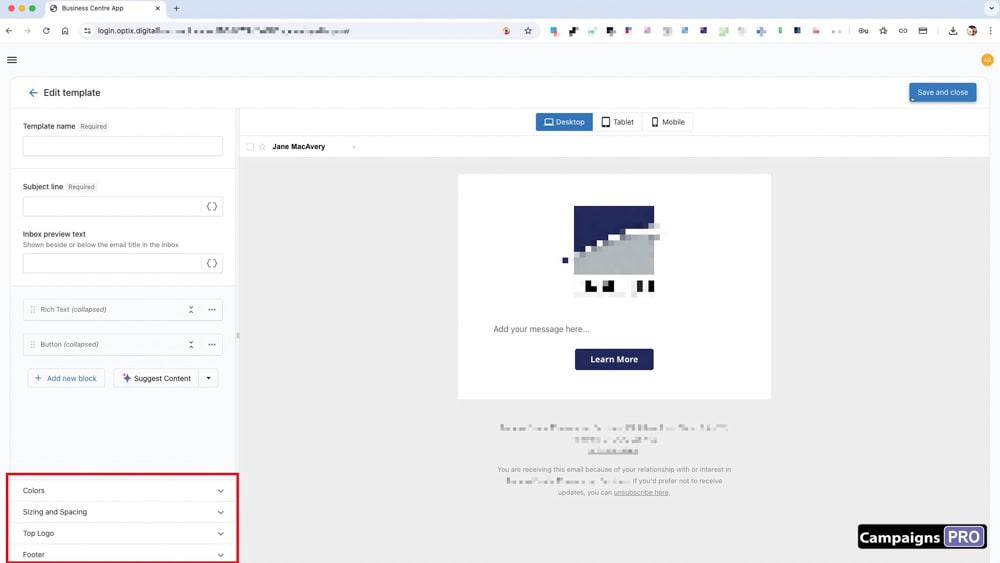
9. Check out the lower tabs to customize your email even further.
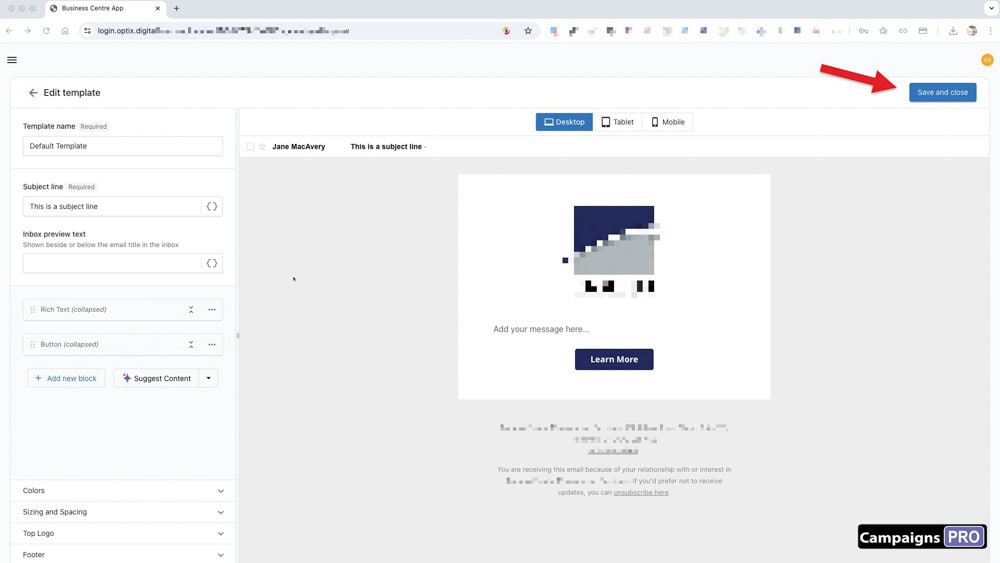
10. Don't forget to "save" the template when you are done.
All done! You have finished your first template!
-----------------------
B. CREATING A CAMPAIGN
To send out emails, they must first be added to a campaign. A campaign can have one or emails that can be sent at staggered times. For example, you may want to send a new customer a welcome email and follow up with a second email a week later to check in with them.
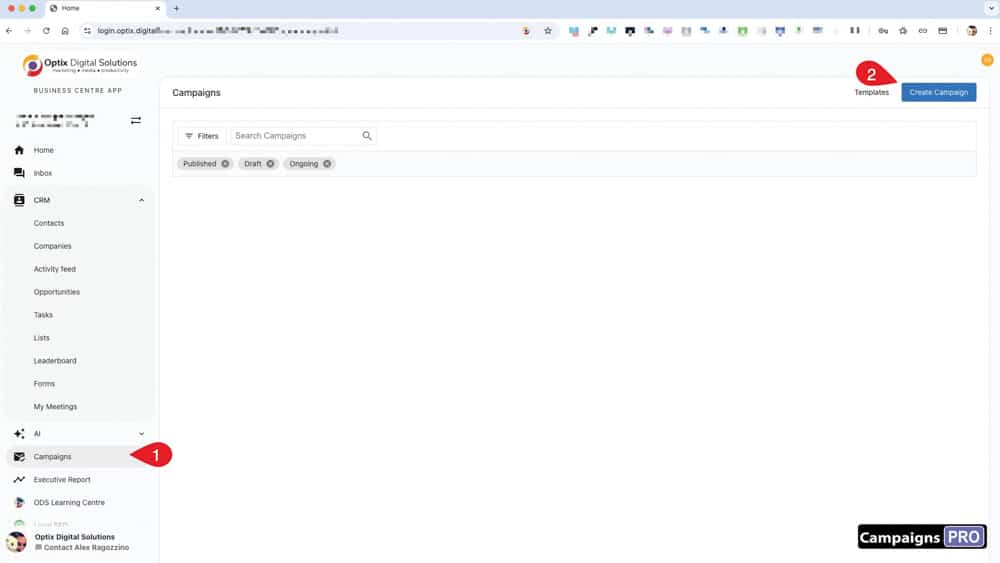
1. Click the blue "Create Campaign" button.
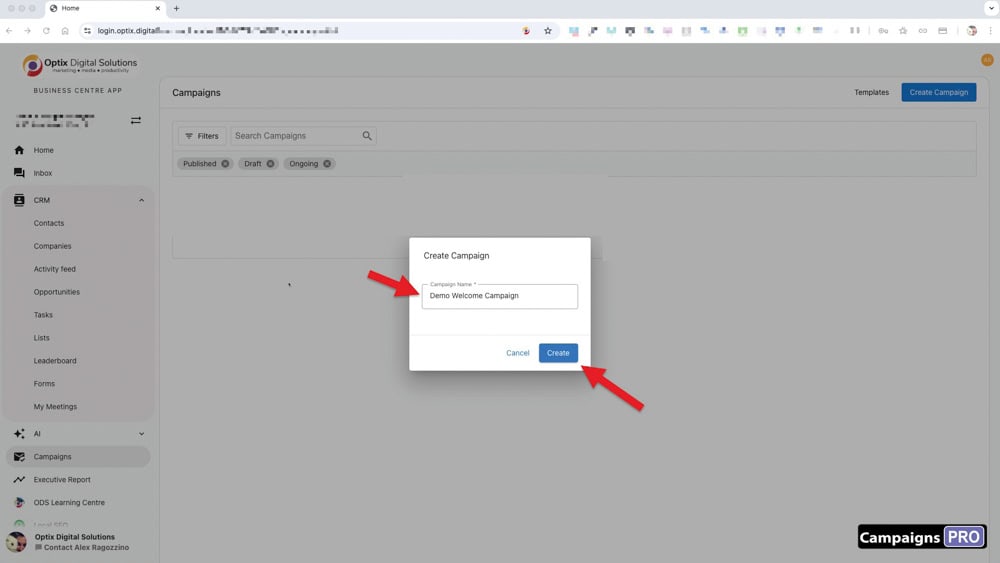
2. Enter a name and click "Create"

3. Click "Add Email" and select "Add Existing Email".
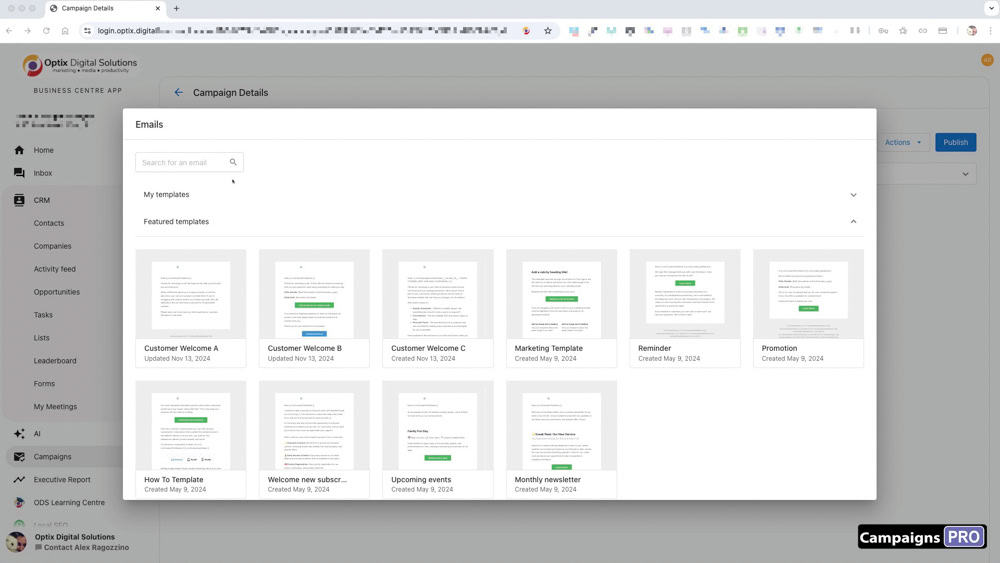
4. Select the appropriate template (such as the one you created earlier).
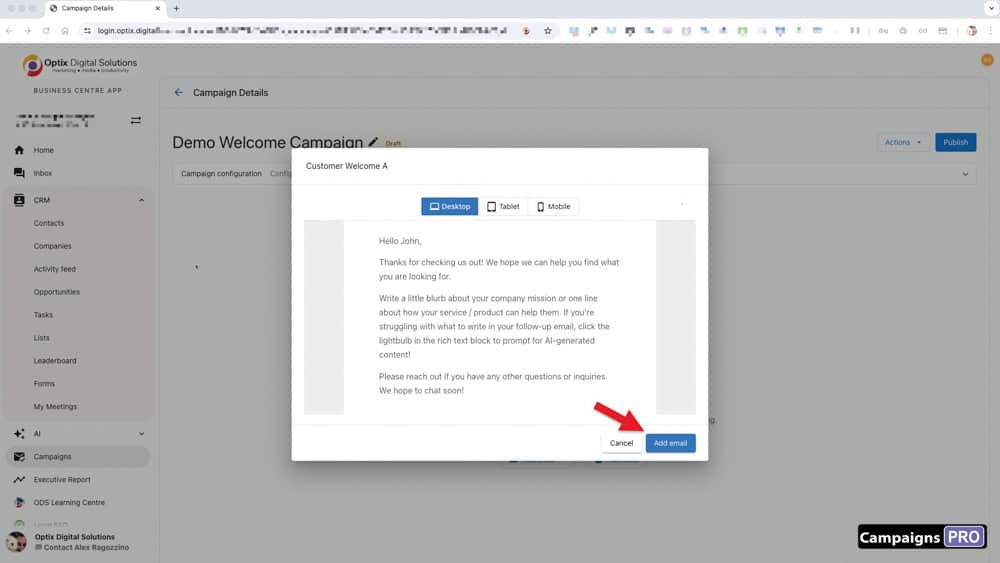
5. Click "Add Email"
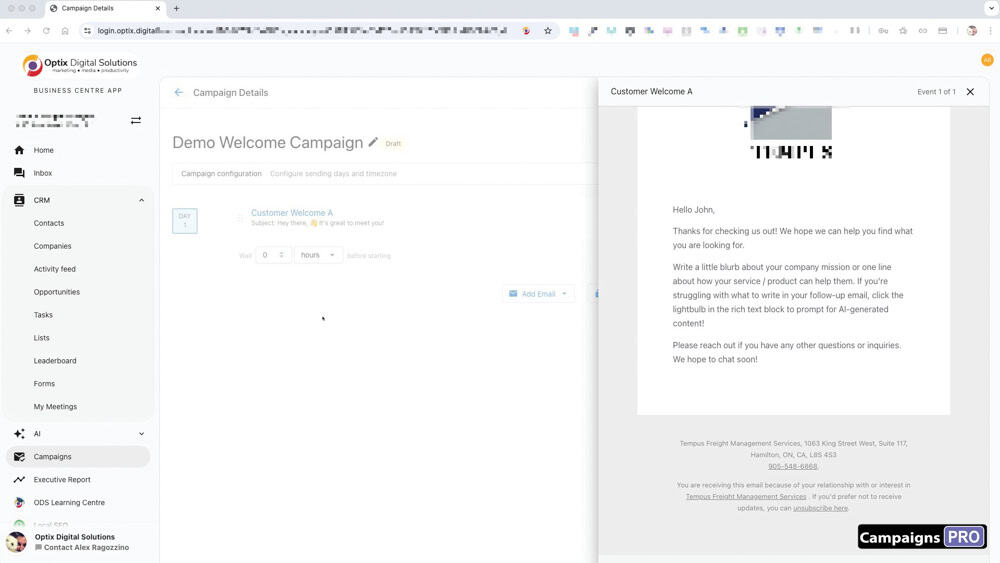
6. Feel free to preview it in the side panel.
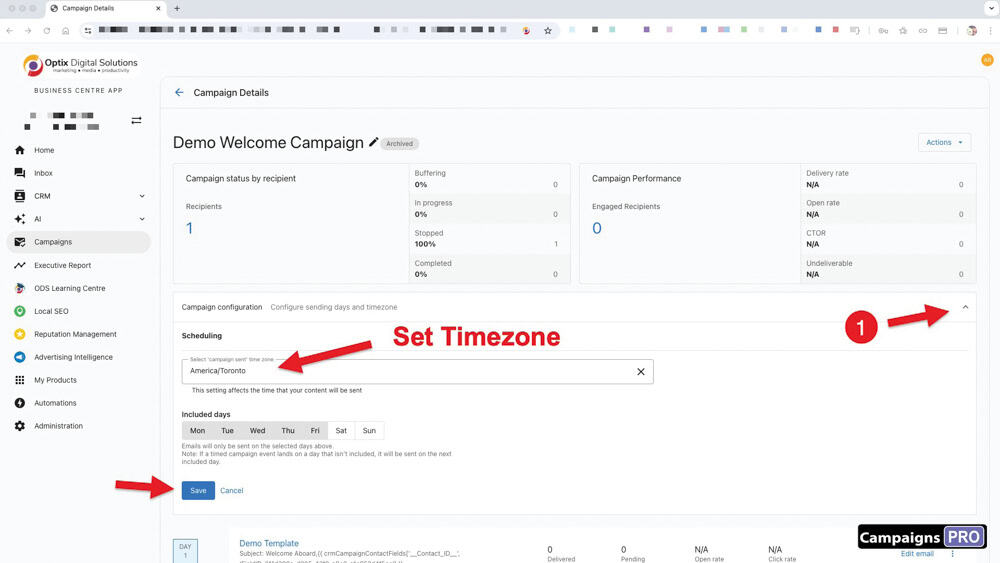
7. Click the arrow as shown in the image to access the TIMEZONE settings.
It's important to set the correct timezone to make sure any emails you send are delivered at the correct times.
The other configuration to consider is to make sure emails (no matter what date/time you set) are not delivered on the weekend, This is set up by default.
Remember to SAVE these settings.
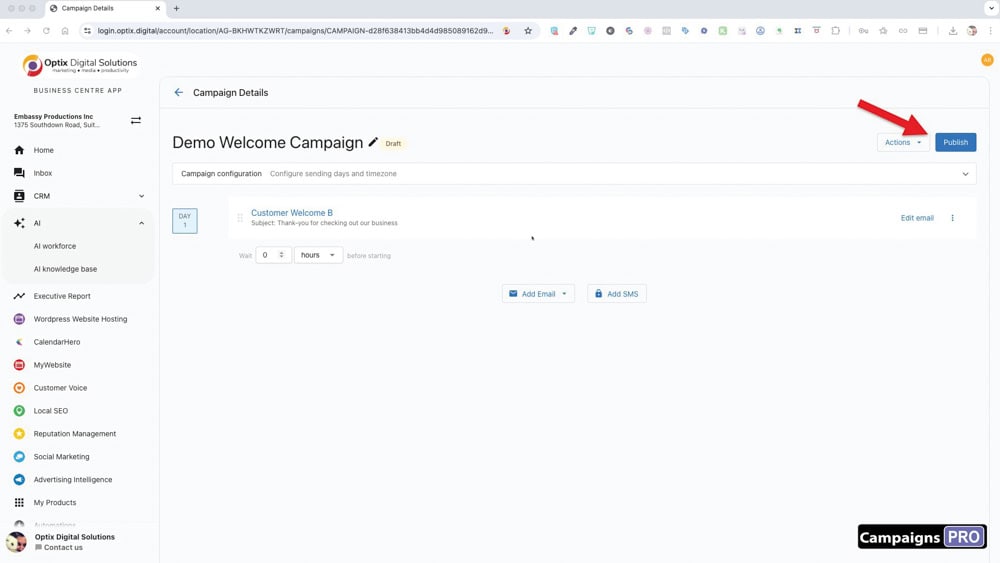
8. "Publish" the Campaign.

9. Click on "Add Recipients"
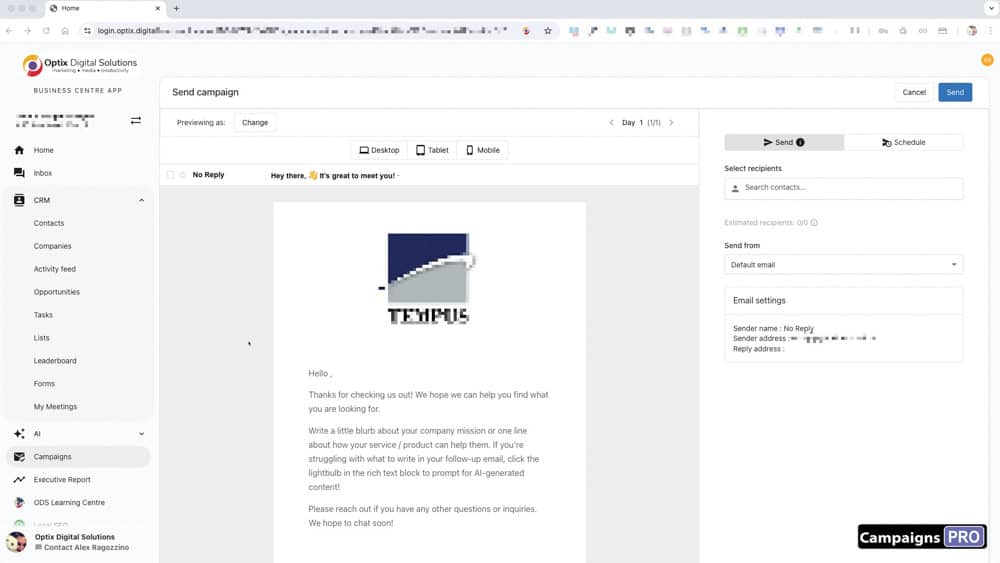
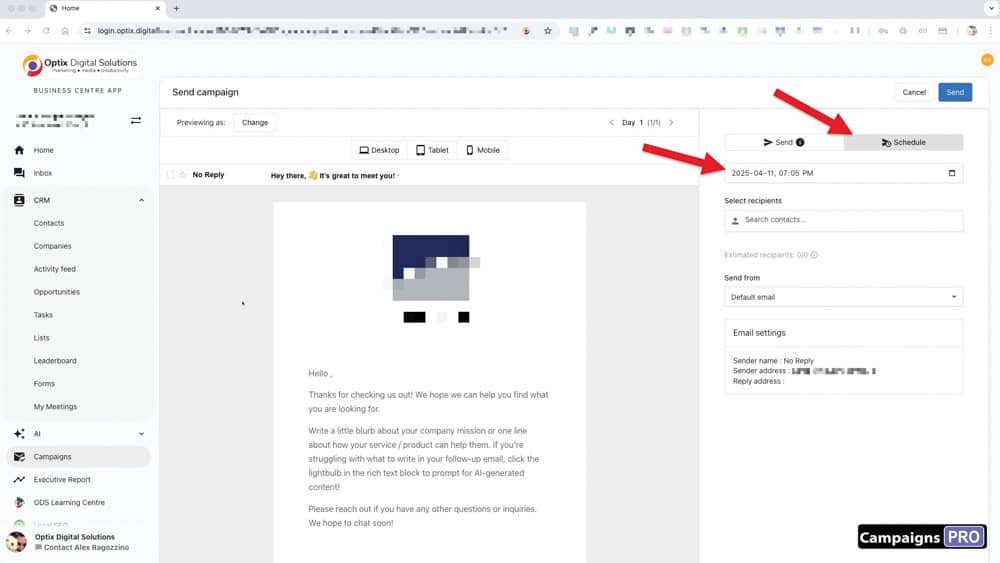
10. Choose whether to send now or schedule for a later date.
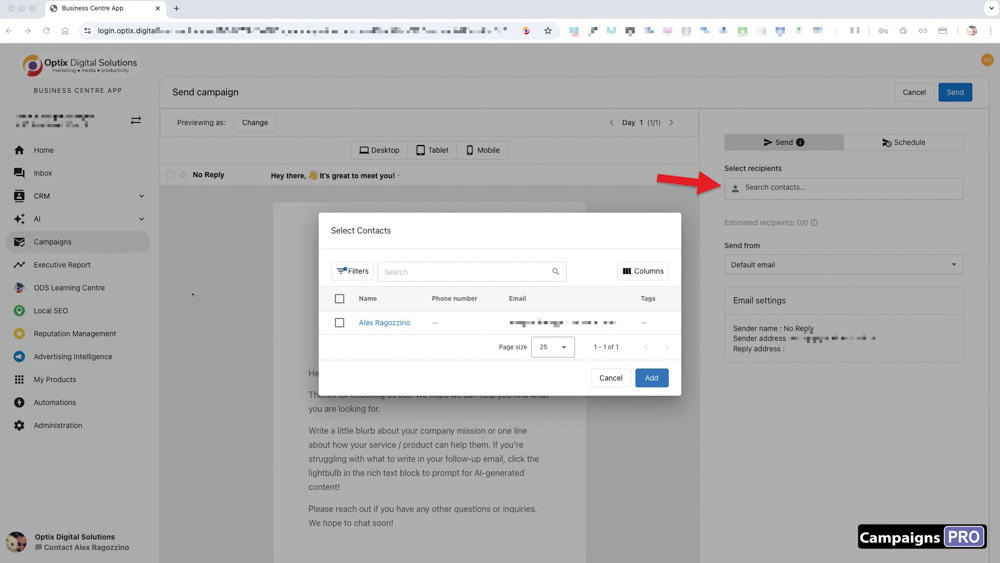
11. Add recipients.
Manually select from your contact list. This is fine if you only have one or a small number of contacts to send the email to.
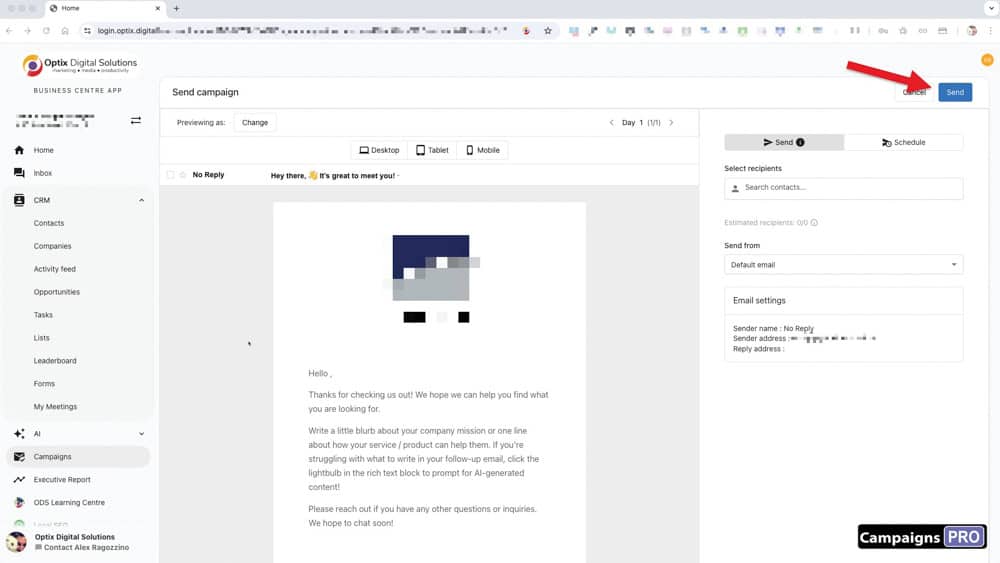
12. Click "Send".
Your campaign is ready to be sent!
-----------------------
(ALTERNATIVE METHOD)
ADDING CONTACTS TO A CAMPAIGN
There is also a second way to add people to a campaign right from inside the CRM.
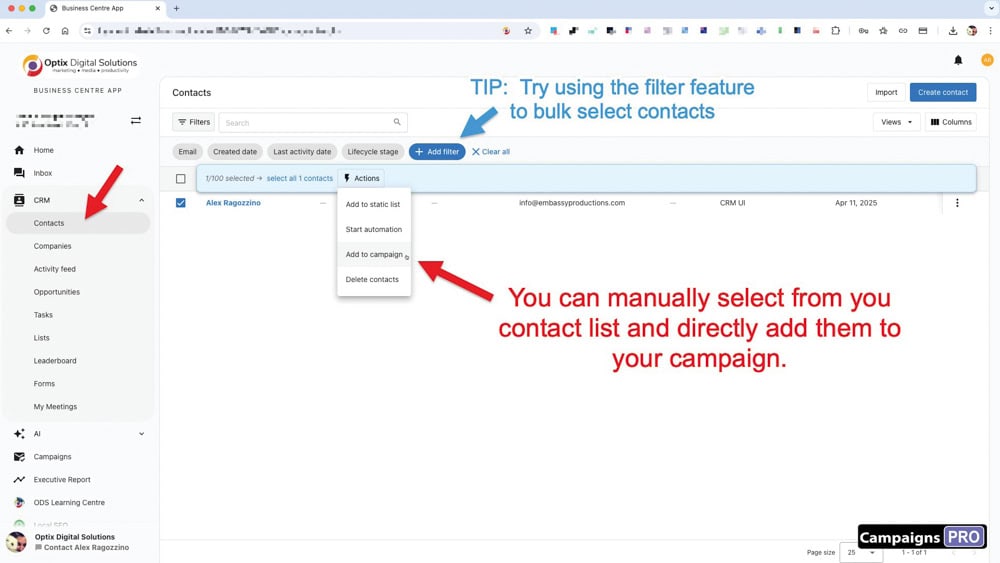
1. You can manually select contacts using the checkbox. Click on "Actions" and select "Add to campaign."
You can also use the filter feature to only display the filtered contacts, making it easier to select them all at once.

2. The contacts will automatically populate in the "recipients" field.
Send or schedule send, and you're all done!
NOTE: For a larger selection of recipients, you can instead create a LIST.
SEE PART 2 TO SEND A CAMPAIGN TO A LIST OF CONTACTS.
-----------------------
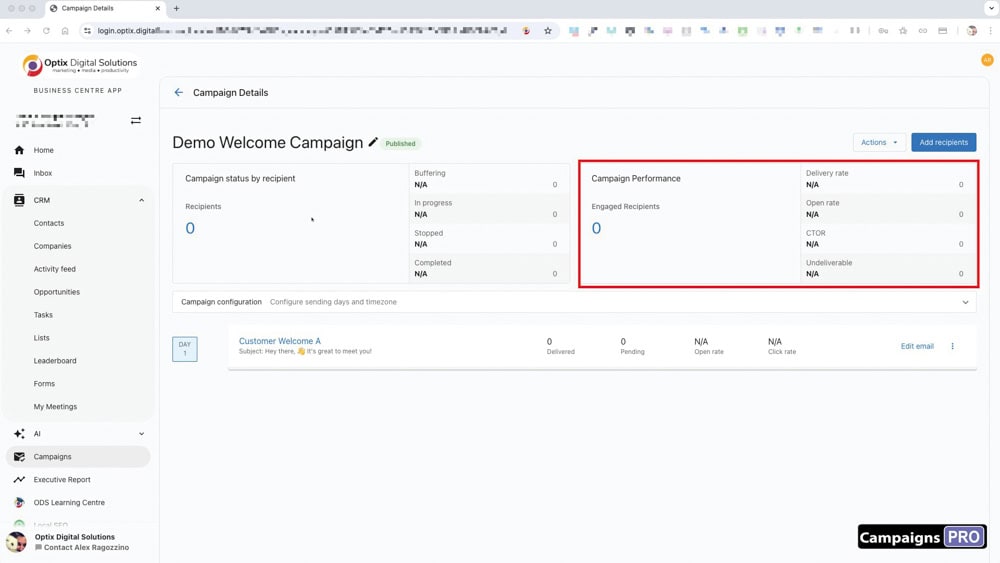
CAMPAIGN PERFORMANCE
To see how well the campaign performed, check out the stats on the Campaign page.